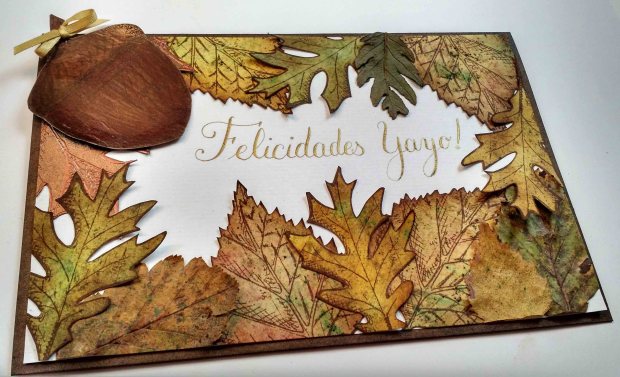
Today I’m sharing with you a card that I just made for my grandpa. I saw the current challenge in Paperartsy blog, which is called Autumn Leaves and I just got inspired and decided that this would be the theme for my grandpa’s card. To create this card I made my own autumn leaves and mixed them with real leaves, I created a nice and shiny acorn and I created my own gold ink, so I can use it for my calligraphy. There is a video with all steps below, just keep reading. Let the glorious autumn begin! 🙂
Hoy comparto con vosotros la tarjeta que le acabo de hacer a mi yayo. Al ver el reto vigente en el blog de PaperArtsy que se llama hojas de otoño me vino la inspiración y elegí usar este tema para la tarjeta de mi abuelo. Para crear esta tarjeta hice mis propias hojas de otoño y las combiné con hojas de verdad, hice una bellota grande y brillante y fabriqué mi propia tinta dorada para aplicarla con la plumilla y hacer un poco de caligrafía. Hay un vídeo con todos los pasos más abajo, sigue leyendo. Que empiece el maravilloso otoño!
En castellano por aquí / Spanish here
In the video below you can see all the details and by way of summary I’ll include some photos of the different stages and finally a list of the supplies used:
STEPS
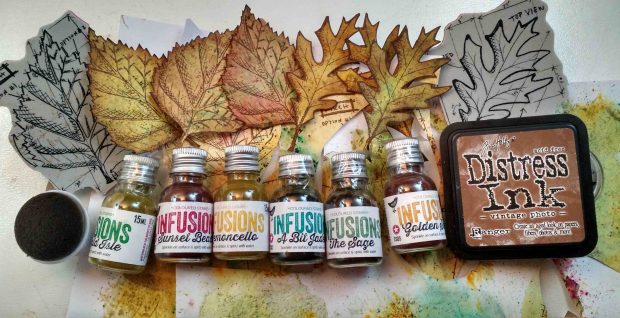
First I made my own Autumn leaves by creating a background with Infusions and then stamping with Versafine ink Vintage Sepia the Tim Holtz stamp set Autumn blueprint CMS133 (Birch and Oak leaves) and after cutting the leaves I aged them with Distress ink Vintage photo:
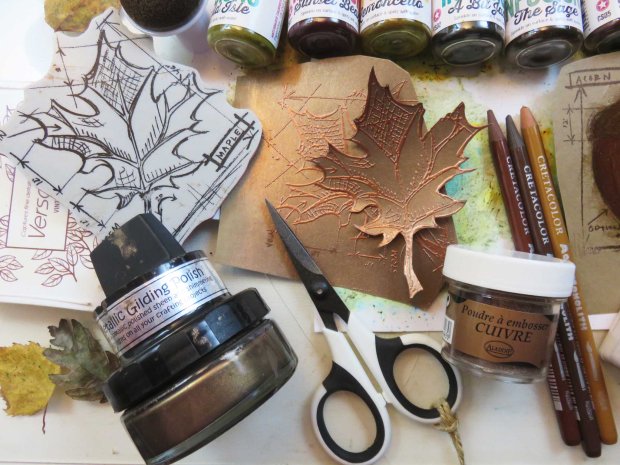
Then I created the maple leaves by using Metallic Gilding Polish paint in chocolate, then stamping the maple leaf from the same stamp set and I embossed it in copper, cut it and aged it with the same Distress ink
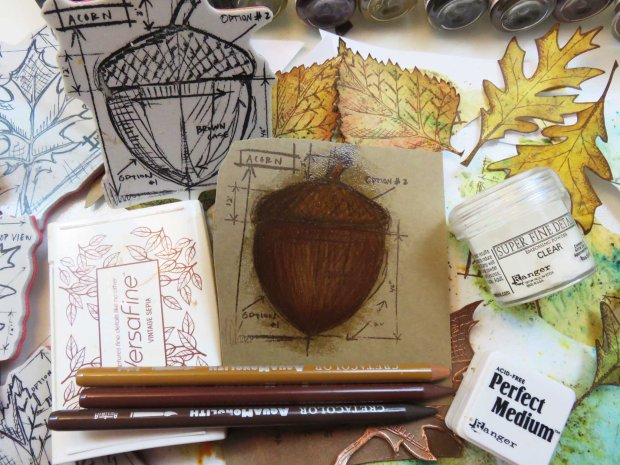
For the acorn, I used the acorn stamp with same versafine ink, and then I used my cretacolor watercolour pencils to colour it up. I applied perfect medium and then I heat embossed it in clear. Again, I cut it and aged it.
My next step was creating the gold ink by mixing 1 part of arabic gum with 4 parts of Pearl ex pigment (my measuring tool was 1/2 teaspoon) and then adding distilled water until it reached a consistency that I liked. Note that I couldn’t find plain distilled water in the supermarket, so I went for an Iron Water which had Orange and Pomegranate essence which still works OK and gives a nice pleasant smell while doing your calligraphy.
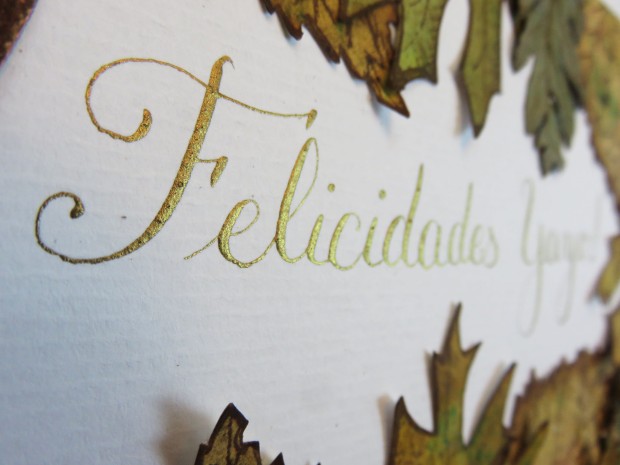
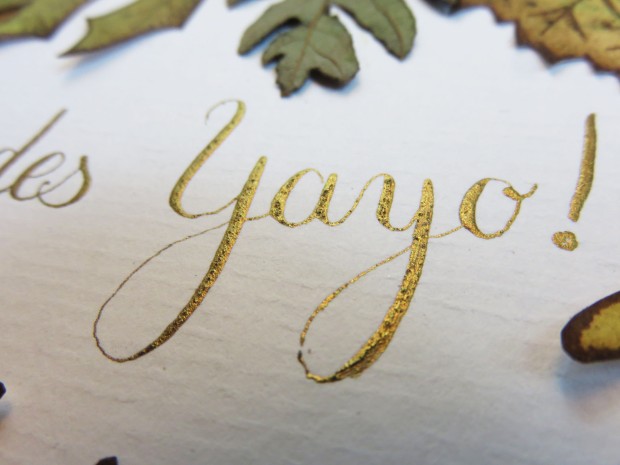
Once all images were cut and the calligraphy was done, I put it all together and once I had the design that I liked, I took a picture with my mobile so I could stick everything with modpodge, including the real leaves that I picked from the street.
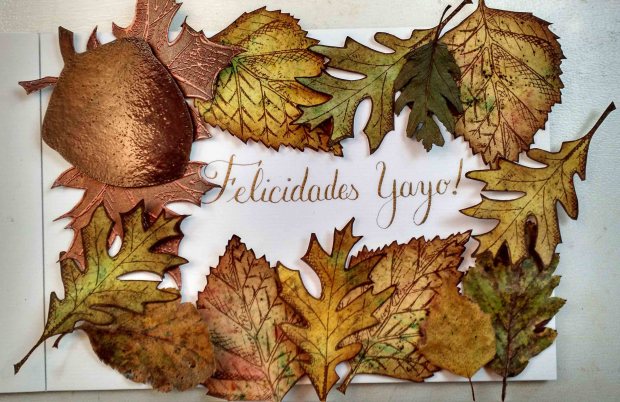
After trimming the edges and assembling the focal point to my card base, the card was ready to send to my granddad 🙂

SUPPLIES
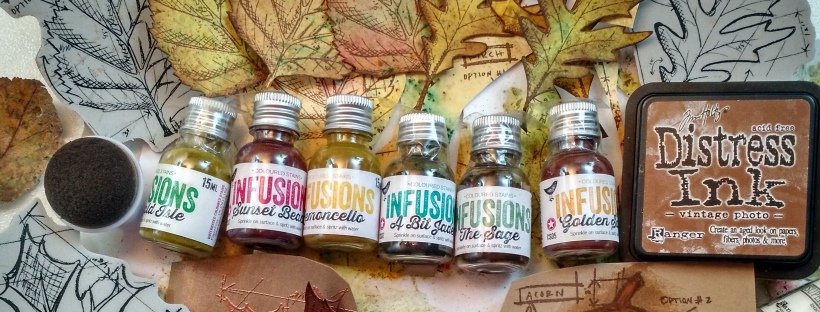
- Infusions: Sunset Beach, Lemoncello, The Sage, Emerald Isle, Golden Sands, A Bit Jaded
- Metallic Gilding Polish Paint – Chocolate
- Distress Ink: Vintage Photo
- Tsukineko Sponge dauber
- Perfect Medium by ranger
- Colour pencils Aquamonolith by Cretacolor
- Versafine Ink by Tsukineko: Vintage Sepia
- Calligraphy paper from Paperchase
- For the ink:
- Gum Arabic Nigerian No3 100 grams – 1/2 teaspoon
- Pearl Ex pigments – 665 Sunset Gold – 2 teaspoons
- Iron Water – around 2 teaspoons or until desired consistency
- Yellow-Gold ribbon
- Tim Holtz – Stampers Anonymous – Autumn Blueprint CMS133
- Copper embossing powder by Aladine
- Clear embossing powder – Superfine detail by Ranger
- Mod Podge Matte finish
- ATG gun
- Xcut scissors by Docrafts
Thanks for reading! And see you in the next post! 🙂 If you want to send any comments or subscribe, go to the end of the post below
TARJETA DE CUMPLEAÑOS CON HOJAS DE OTOÑO
En el siguiente vídeo podeis ver todos los detalles y a continuación pondré fotos explicando los pasos a modo de resumen. Finalmente os pondré la lista de los materiales utilizados:
PASOS
Empiezo creando mis propias hojas de otoño haciendo un fondo con los Infusions y estampando a continuación con la tinta Versafine Vintage Sepia dos los sellos de Tim Holtz Autumn blueprint CMS133 (las hojas Birch-abebul y Oak-Roble), las recorto y las envejezco usando tinta Distress Vintage photo:

Sigo con la hoja de arce, que estampo en una cartulina marrón que previamente he pintado con la pintura metalizada color chocolate Metallic Gilding Polish y hago un embossing en color cobre, recorto las hojas y las envejezco con la misma tinta Distress de antes:

Para la bellota, uso el sello correspondiente y la misma tinta versafine y lo estampo en la misma cartulina de antes. Coloreo la imagen con los lápices acuareables de cretacolor, le aplico perfect medium encima y hago un embossing en transparente. De nuevo corto y envejezco:

Mi siguiente paso fue crear mi tinta dorada a partir de una medida de goma arábiga por y 4 medidas de Pigmentos Pearl Ex (mi medida era una cuchara medidora de media cucharadita de café). A esa mezcla le añadí agua destilada hasta que conseguí una consistencia que podía usar con la plumilla. Bueno, en realidad, el agua no era destilada, sino agua de planchar, la única que encontré el día que la fui a comprar al supermercado. Tiene esencia de Naranja y Granada y funciona igual y además mientras escribes percibes el aroma. La verdad es que el color quedó muy bonito 🙂


Tras cortar todas las imágenes y tras ubicarlas encima de la caligrafía, una vez estuve satisfecha con la disposición de los elementos, hice una foto con mi móvil para saber dónde pegar cada cosa en su sitio con Mod Podge:

Una vez recortadas las hojas que sobresalían y una vez recortada a la medida deseada, ensamblé la tarjeta pegando mi composición a la base de la tarjeta y lista para enviar a casa de mi yayo! 🙂

MATERIALES
- Infusions: Sunset Beach, Lemoncello, The Sage, Emerald Isle, Golden Sands, A Bit Jaded
- Metallic Gilding Polish Paint – Chocolate
- Distress Ink: Vintage Photo
- Esponja aplicadora Tsukineko
- Perfect Medium de ranger
- Lápices acuareables Aquamonolith de Cretacolor
- Tinta Versafine de Tsukineko: Vintage Sepia
- Papel para caligrafía de Paperchase
- Para hacer la tinta se necesita:
- Goma Arábiga – Nigeriana No3 100 gramos – 1/2 cucharadita
- Pigmentos Pearl Ex – 665 Sunset Gold – 2 cucharaditas
- Agua de planchar – unas 2 cucharaditas o hasta conseguir la consistencia deseada
- Lazo amarillo/dorado
- Sellos de Tim Holtz – Stampers Anonymous – Autumn Blueprint CMS133
- Polvos embossing en cobre de Aladine
- Polvos embossing transparentes – Superfine detail de Ranger
- Mod Podge acabado mate
- ATG gun
- Xcut – tijeras de Docrafts
Muchas gracias por leer! Hasta el siguiente post!

One thought on “Autumn Leaves Birthday Card”