

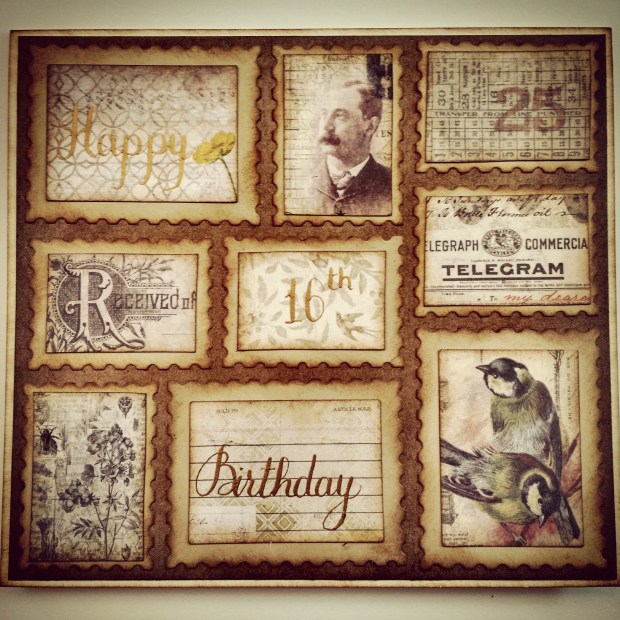
Hi everyone! Today I’ll show you how to create this card inspired by the current fortnight challenge by PaperArtsy, which is squares. My squares, which are actually rectangles, are a mosaic of Postal vintage stamps that I created using a very nice paper collection by Tim Holtz (called wallflower) along with some Sizzix dies (called Postage Stamps). On three of the stamps I’ll be writing my sentiment using a gold ink that I created recently in my previous post and video. This card is for my cousin Alex who will turn 16 in a few day’s time. I hope he doesn’t see the card or the video before his birthday, so shhh, don’t tell him anything! OK? Let’s get started!
Hola a todos! Hoy os traigo como hacer esta postal inspirada por el reto de estas dos semanas que organiza Paperartsy. Esta vez va de cuadrados. Mis cuadrados, que de hecho son rectángulos… van a formar un mosaico de sellos vintage creados con un papel muy bonito de Tim Holtz (se llama Wallflower) y unos troqueles o dies de Sizzix (que se llaman Postage Stamps) con forma de sellos postales, que hacia mucho que quería utilizar. En 3 de ellos aprovecho para escribir a mano usando mi propia tinta dorada una felicitación para mi primo Alex, que cumple 16 en unos días. Espero que no vea el video antes de tiempo así que shhh…, no le digáis nada! Vale? Empezamos!
En castellano por aquí / Spanish here
In the video below you can see all the details and by way of summary I’ll include some photos of the different stages and finally a list of the supplies used:
STEPS
I selected one of the papers in the Wallflower paper collection pad by Tim Holtz, which has the miniatures of the papers. I cut stamps out of them using my cuttlebug and the dies collection Postage Stamps by Sizzix. I also cut the border shapes out of a cream cardstock. Once all was cut, I arranged the die-cuts in place and took a picture for later use, so I could remember their positions:

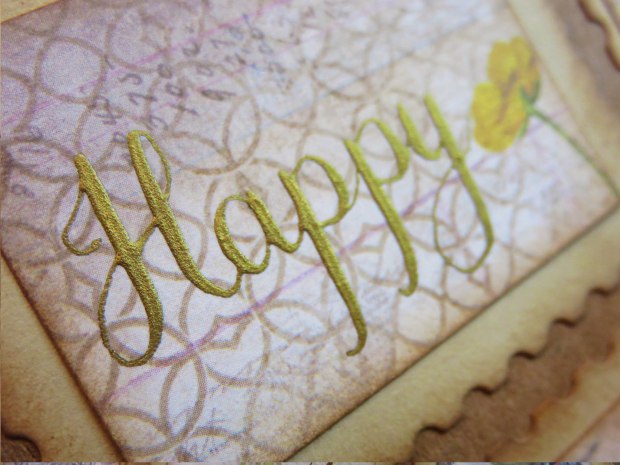
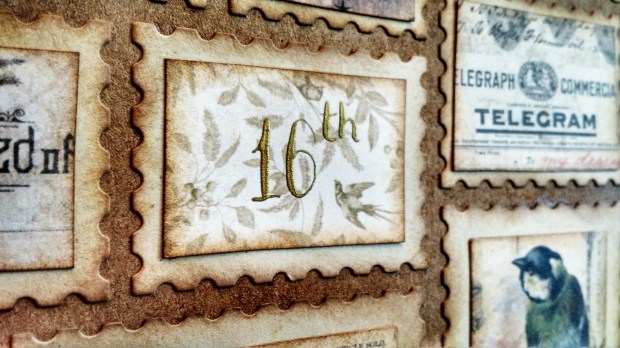
Then I selected the papers where I would like to write the sentiment on, and I used the gold ink that I created in my previous post to handwrite it with my favourite calligraphy pen, a gift from my friend Aida 🙂
I aged all the stamps with Vintage Photo distress ink and all the stamp bases with Antique Linen distress ink and again some Vintage Photo. I sticked the stamp images to the stamp bases using the ATG gun.

I sticked everything in place using Modpodge because my ATG gun glue was not suitable for the type of cardstock that I used, which apparently was losing fibres… But Modpodge did the work, so I could finish my card:


SUPPLIES
- Distress Ink: Vintage Photo and Antique Linen
- Tsukineko Sponge daubers Jumbo and regular
- Calligraphy pen
- For the ink – see how to here:
- Gum Arabic Nigerian No3 100 grams – 1/2 teaspoon
- Pearl Ex pigments – 665 Sunset Gold – 2 teaspoons
- Iron Water – around 2 teaspoons or until desired consistency
- Tim Holtz – Idea-ology paper pad – Wallflower
- Sizzix Framelits dies – Postage stamps
- Mod Podge Matte finish
- ATG gun
- Xcut scissors by Docrafts
Thanks for reading! And see you in the next post! 🙂 If you want to send any comments or subscribe, go to the end of the post below
TARJETA DE CUMPLEAÑOS CON SELLOS POSTALES VINTAGE
En el siguiente vídeo podéis ver todos los detalles y a continuación pondré fotos explicando los pasos a modo de resumen. Finalmente os pondré la lista de los materiales utilizados:
PASOS
Elegí uno de los papeles que Tim Holtz suele incluir al final de sus colecciones, que son miniaturas del resto de papeles. Sinceramente, hasta ahora no les había encontrado utilidad, pero para este proyecto van como anillo al dedo. Utilicé los troqueles Postage Stamps de Sizzix para crear mis sellos. Para la parte del borde de los sellos usé una cartulina color crema. Aquí están todos los sellos en una disposición que me gustaba, así que les hice una foto con el móvil para acordarme después de cómo volver a ponerlos:
Entonces cogí los papeles sobre los que iba a escribir el Happy 16th Birthday y usando la tinta dorada que creé en el post anterior, lo escribí con mi plumilla favorita que me regaló mi amiga Aida 🙂
Envejecí todos los sellos con tinta distress Vintage Photo y todas las bases (marcos) con tinta disctress Antique Linen y a continuación un poco más de Vintage Photo. Pegué las imágenes de los sellos con sus bases con el dispensador de pegamento seco ATG (ATG gun).
Usando Modpodge pegué los sellos a la cartulina base marrón. No pude usar la ATG gun, no había manera, porque la cartulina marrón era un papel reciclado y perdía las fibras (y yo la paciencia…). El Modpodge funcionó:
MATERIALES
- Distress Ink: Vintage Photo y Antique Linen
- Esponja aplicadora Tsukineko Jumbo y regular
- Plumilla para caligrafía
- Para hacer la tinta se necesita lo siguiente, pero puedes el tutorial aquí:
- Goma Arábiga – Nigeriana No3 100 gramos – 1/2 cucharadita
- Pigmentos Pearl Ex – 665 Sunset Gold – 2 cucharaditas
- Agua de planchar – unas 2 cucharaditas o hasta conseguir la consistencia deseada
- Tim Holtz – Idea-ology colección de papeles 12×12- Wallflower
- Sizzix Dies Framelits – Postage Stamps
- Mod Podge acabado mate
- ATG gun
- Xcut – tijeras de Docrafts
Muchas gracias por leer! Hasta el siguiente post!

Beautiful !! As usual..
LikeLiked by 1 person
Beautiful! Love the bird!
Lucy x
LikeLike
Thanks Lucy! 🙂
LikeLike