

Hi everyone! This is the last post for this retrospective series (you can call it a season 1). I have many more projects that I’ve done in the past and that I’ll share with you, but in a later stage. After this post, the next one will be in two weeks time. That one will have a video and you’ll be able to follow the step by step.
But for now, let’s have a look at today’s post which is super easy to do. Not much material needed. You’ll be able to make a small set of postcards. 😉 Enjoy!
¡Hola a todos! Este es el último post de esta serie de retrospectiva (podríamos decir que es la primera temporada de la serie). Tengo muchos más proyectos que he hecho en el pasado y que voy a compartir con vosotros, pero eso será más adelante. Después de este post, el próximo será dentro de dos semanas y espero tener listo un vídeo para que podáis seguir el proyecto paso a paso.
Pero por ahora, vamos a echar un vistazo al post de hoy que es súper fácil de hacer. No se necesita mucho material. Serás capaz de hacer un mini set de postales. 😉 Espero que os guste!
En castellano por aquí / Spanish here
My friend Aida is also crazy about scrap. We still don’t agree on who of the two of us is worse 🙂 It depends on the day, hehe. When she has her blog ready, I’ll let you know. She makes beautiful things! Well, the thing is that sometimes we make shared orders for new supplies and since I live in London and she lives in Barcelona the order arrives in a city and the other one of us has to wait for someone (a relative or friend with a good heart and with space in the suitcase) to bring it. This last time my mother inlaw was the one who very kindly help us and brought a few things from Aida for me and when she returned to Barcelona, I gave her some things back to bring to her, including these postcards I did as a treat.
SUPPLIES
- Papermania paper pad A4 – Botanicals
- Madame Payraud Docrafts 12×12 paper pad
- Madame Payraud Docrafts Postal stamp
- Acrylic block – you can use any or just use the stamp straightaway
- Versafine ink vintage sepia
- Distress ink Vintage photo
- Tsukineko Sponge Daubers
- Lace
- Cream colour cardstock
- Adhesive
- Scissors

HOW-TO
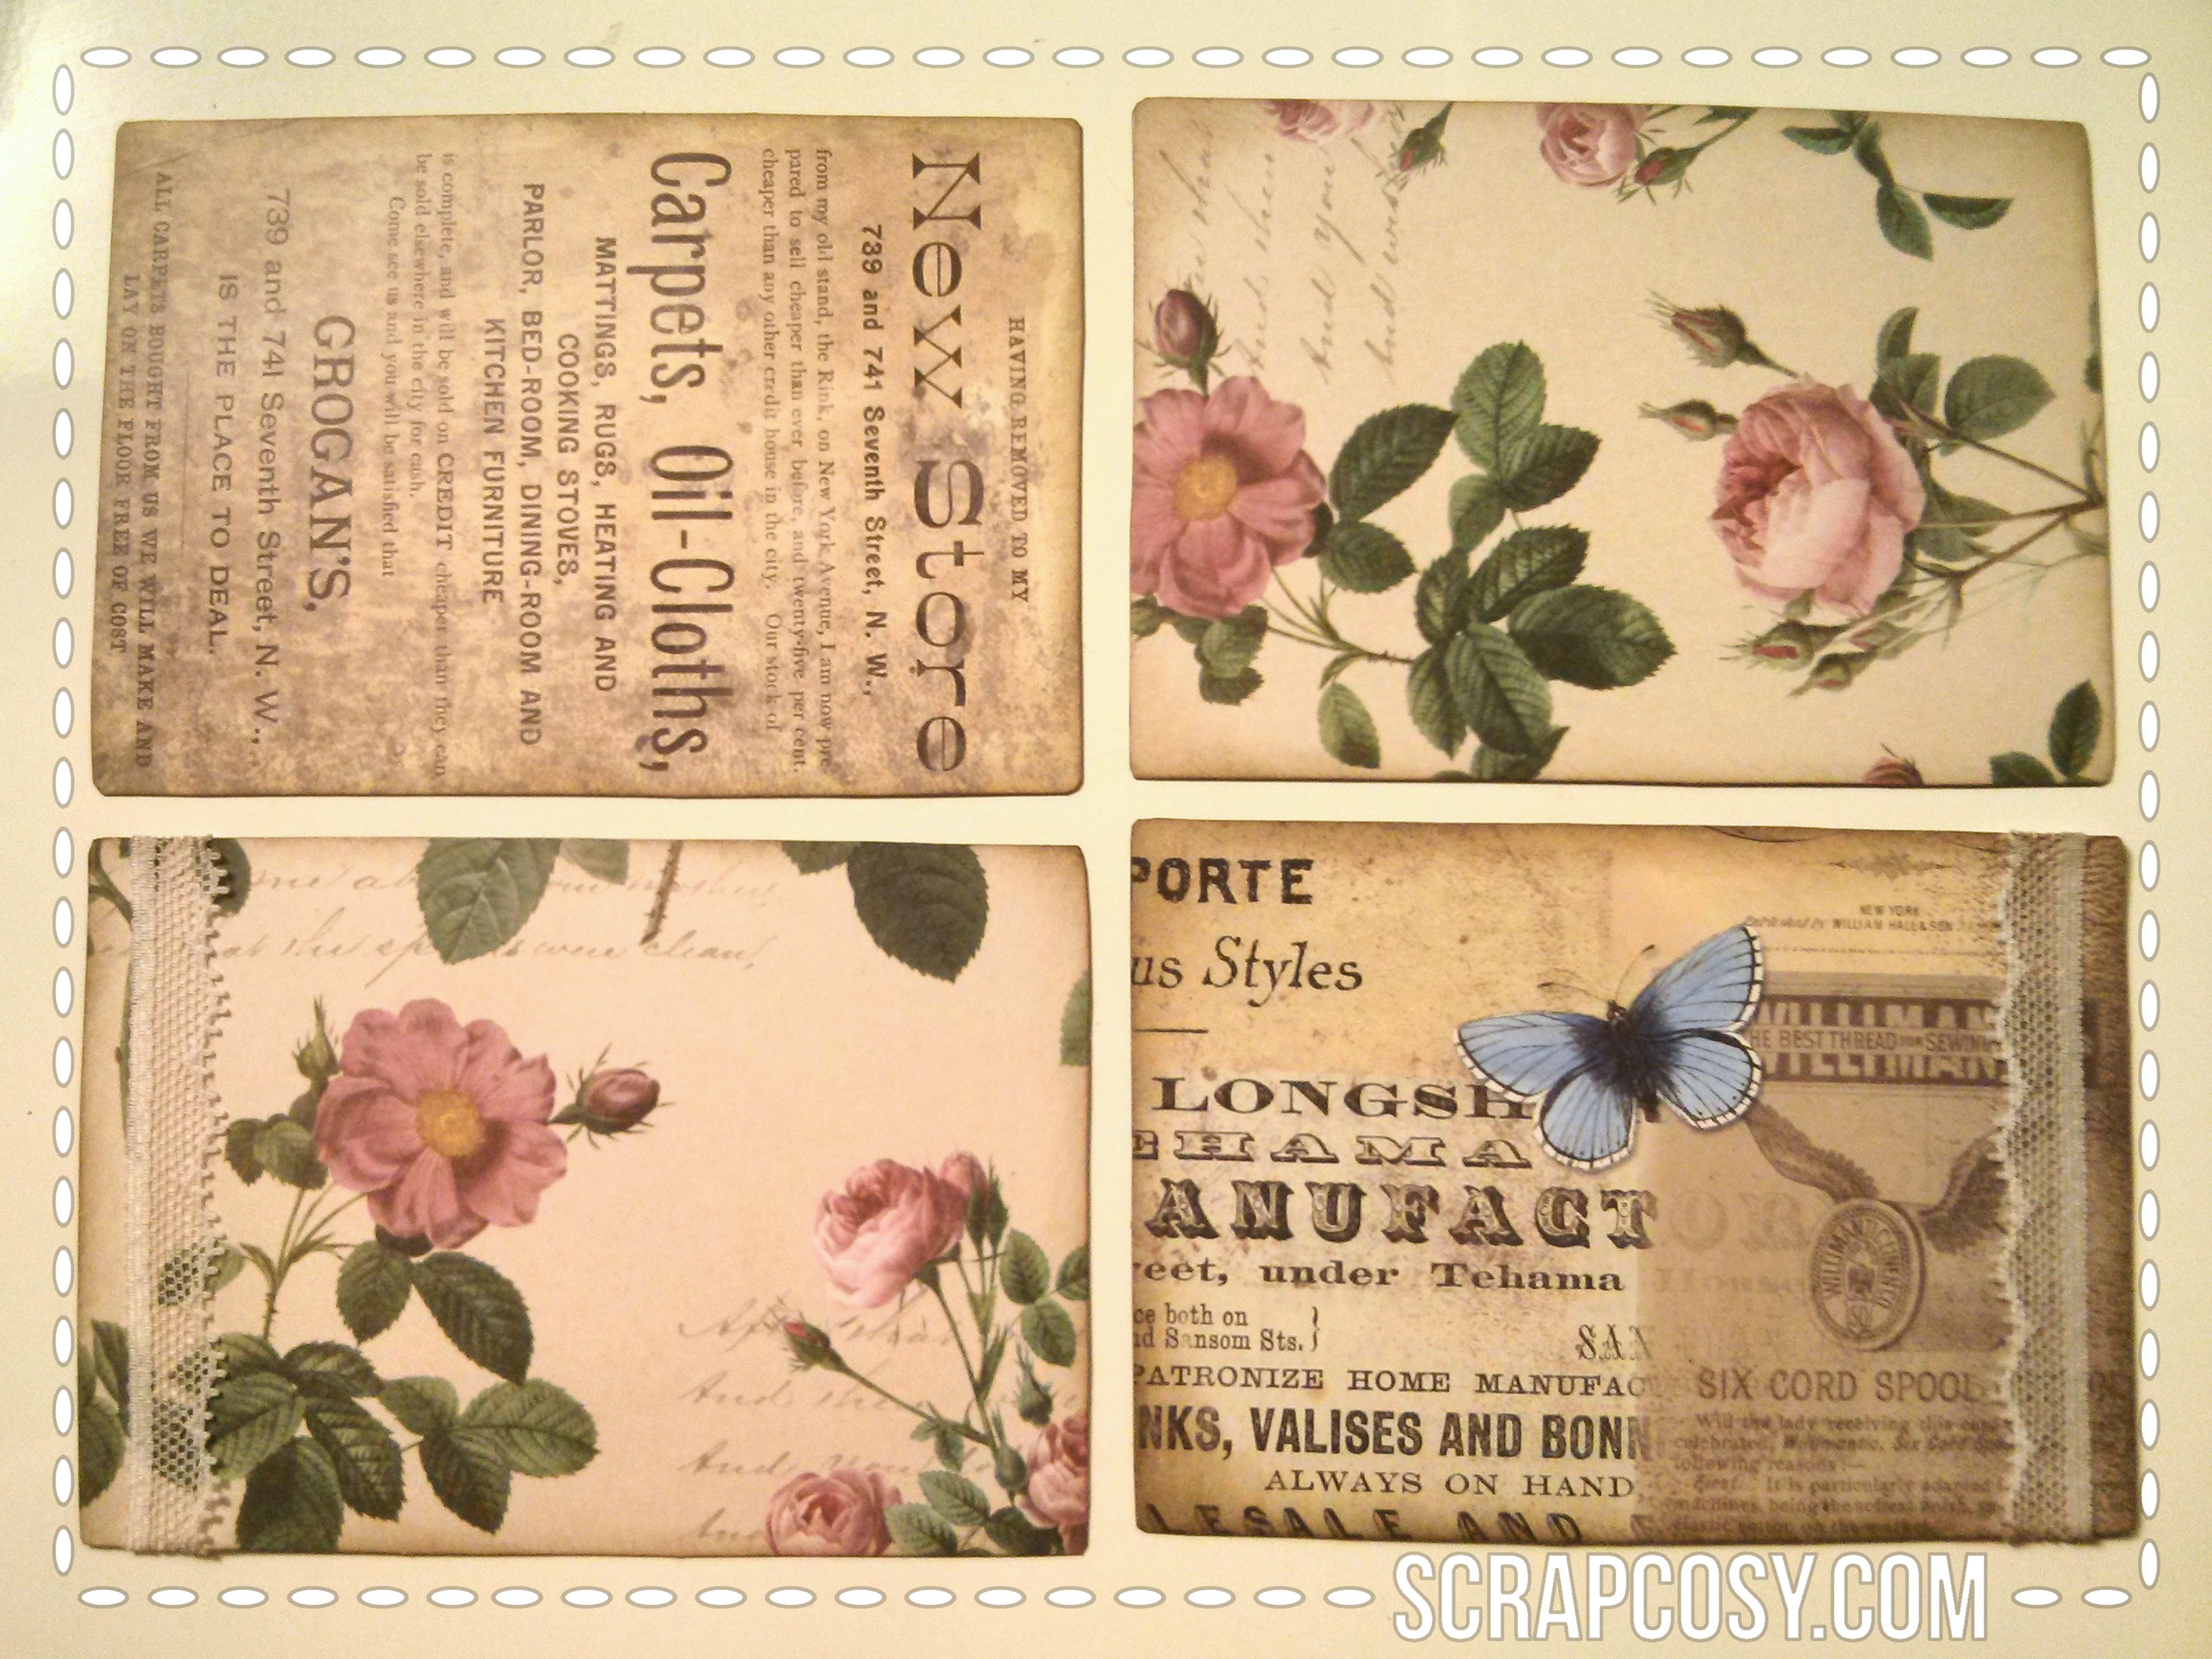
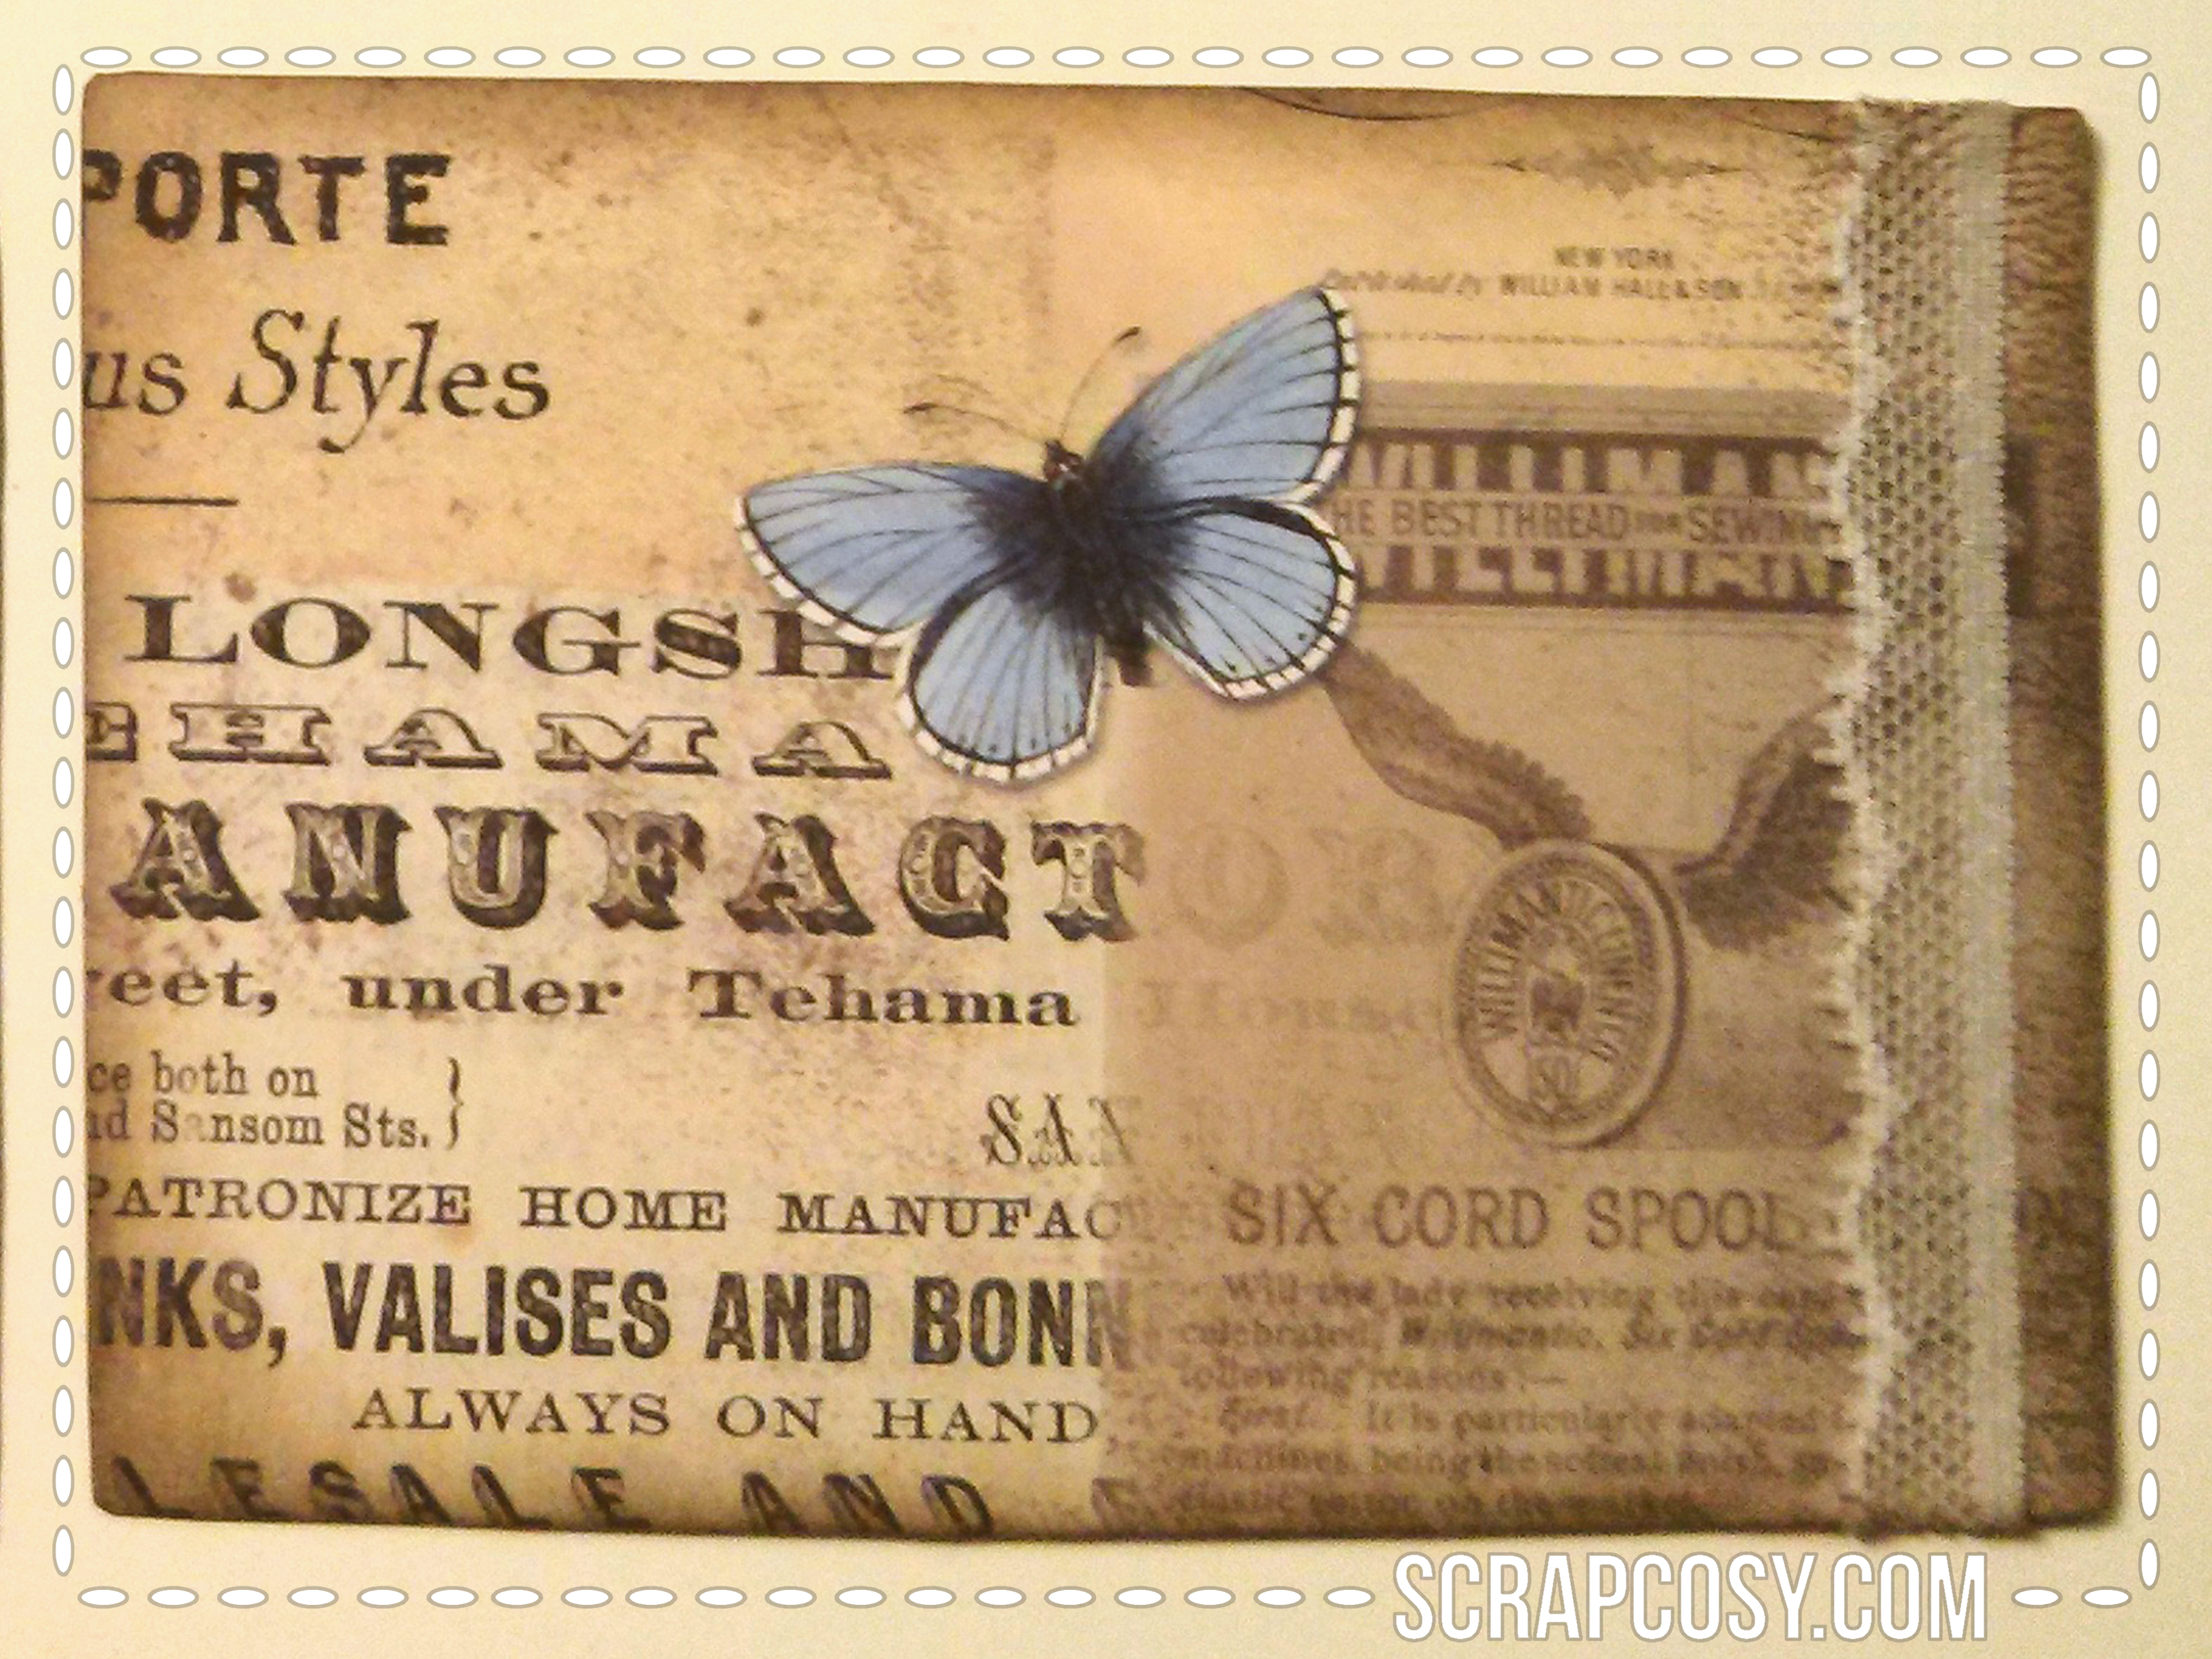
Take the postcard stamp and stamp it 4 times in cream cardboard with vintage sepia versafine ink. Cut out the four postcards leaving a minimum margin, as you can see in the pictures. Ink the edges with distress vintage photo with the help of the sponges daubers. You have finished half of the work!
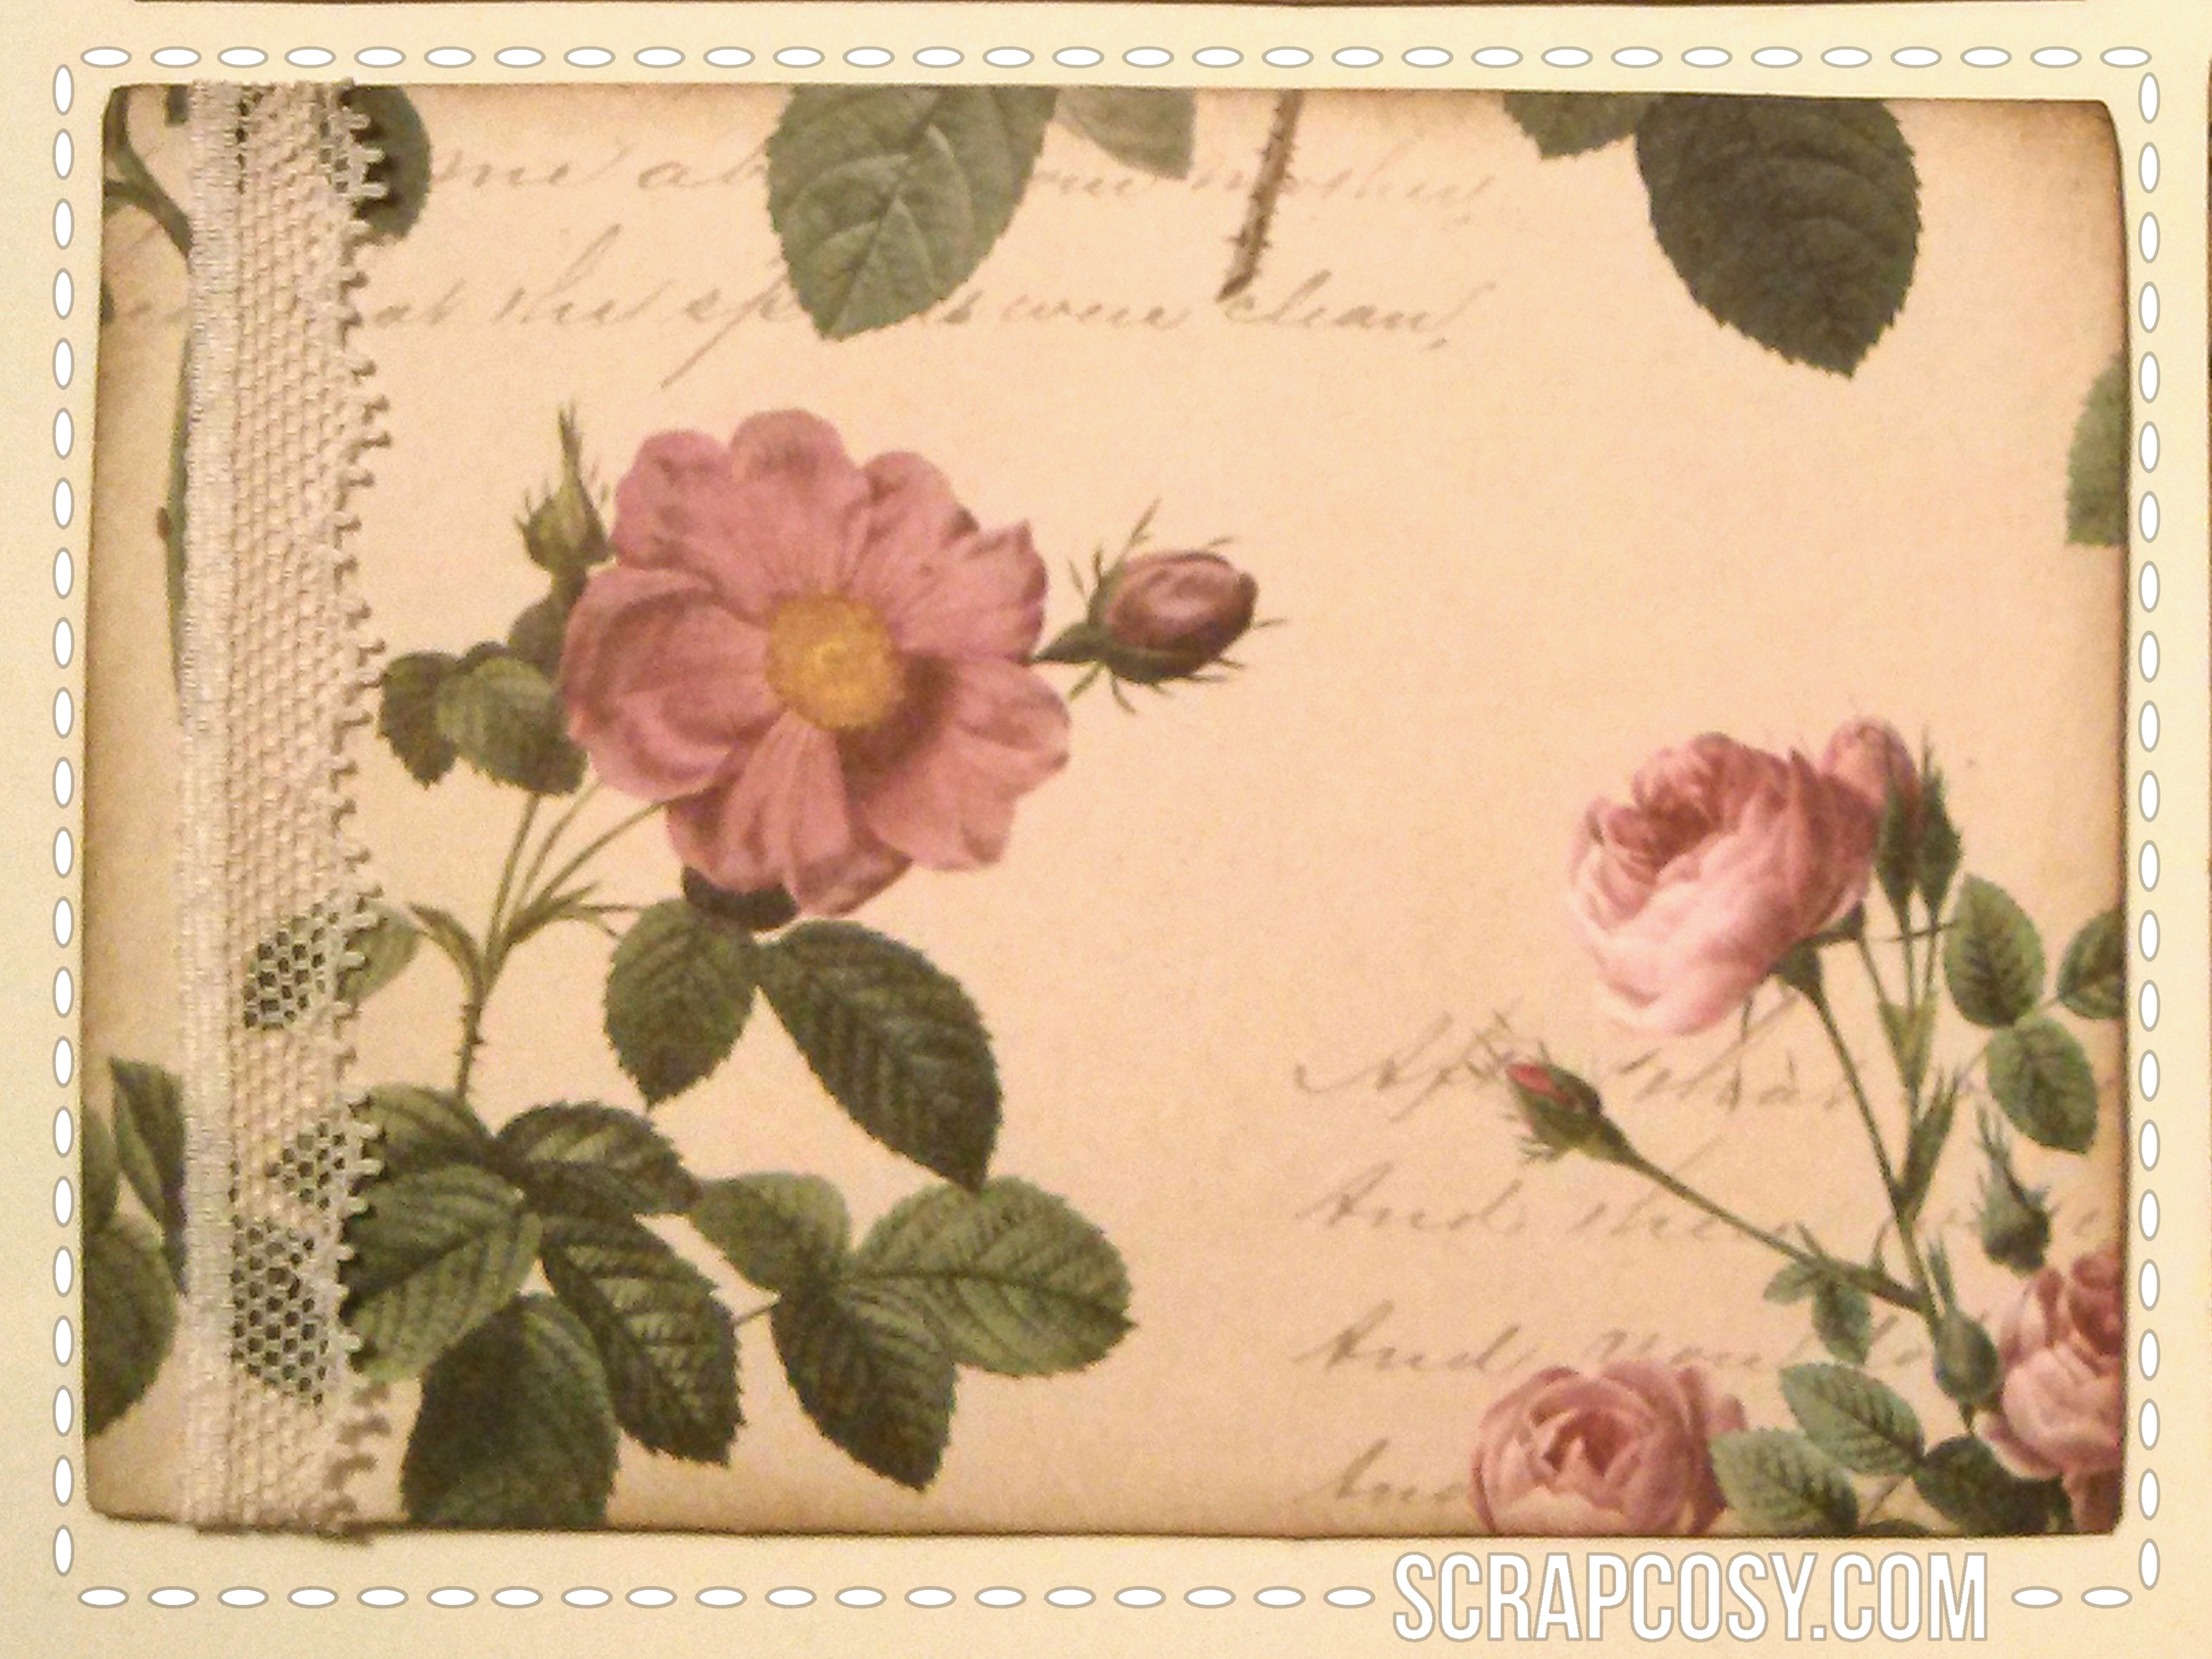
Now take the papers that you like and cut 4 pieces, same size as the postcards. Ink the edges in the same way as you did before.
Take the ribbon or lace and cut a piece which is larger than the width of the postcard. Adhere it with double-sided tape or with permanent adhesive leaving loose ends to go beyond the edges. Now fold the remaining lace and stick them on the back.
The final step is to take the 4 patterned paper pieces and stick them to the back of the 4 postcards.
And that’s it! I told you it would be easy! 🙂
I hope you liked it! As I said before, this is the last post of this season’s Retrospective series. I will not publish anything until two weeks time, when I hope to return with my first post + video step by step.
I just let you know you that the next post will be a birthday card and I can tell you that who received it was very happy about it.
Thanks for reading! And see you soon! 🙂 If you want to send any comments or subscribe, go to the end of the post below
RETROSPECTIVE – MAY 2015 – SIMPLE CARDS
Mi amiga Aida también está loca por el scrap. Aún no nos ponemos de acuerdo en decidir cuál de las dos está peor 🙂 Depende del día, jeje. Cuando tenga listo su blog, os avisaré. Hace cosas preciosas! El caso es que a veces hacemos pedidos conjuntos y al yo vivir en Londres y ella en Barcelona el pedido llega a una ciudad y la otra tiene que esperar a que alguien (un familiar o amigo con buen corazón y con espacio en la maleta) se lo traiga. Esta última vez fue mi suegra quien muy amablemente hizo de recadera y me trajo unas cuantas cosas de parte de Aida y cuando se volvió para Barcelona, le di otras cosas de vuelta, y entre ellas, estas postales que le hice a modo de “chuche”.
MATERIALES
- Papermania paper pad A4 – Botanicals – Papel A4
- Madame Payraud Docrafts 12×12 paper pad – Papel 12×12
- Madame Payraud Docrafts Postal stamp – Sello de postal
- Bloque acrílico – o puedes estampar directamente el sello, porque este es grande
- Vinta Versafine vintage sepia
- Tinta distress Vintage photo
- Tsukineko Esponjas aplicadoras
- Encaje u otro tipo de cinta que te guste
- Cartulina color crema
- Adhesivo
- Tijeras
HOW-TO
Coge el sello de la postal y estámpalo 4 veces en la cartulina color crema con la tinta versafine vintage sepia. Recorta las cuatro postales dejando un margen mínimo, como en las fotos. Entinta los bordes con distress vintage photo con la ayuda de las esponjas aplicadoras. Ya tienes una parte!
Ahora coge los papeles que te gusten y recorta 4 trozos del mismo tamaño que las postales. Entinta los bordes de la misma forma que antes.
Coge la cinta o el encaje y corta un trozo más grande que el ancho de la postal. Pégalo con cinta de doble cara o con adhesivo permanente. Lo que sobre de cinta, lo doblas y lo pegas detrás.
Una vez tengas los cuatro trozos de papel decorativo listos, pega cada uno a una de las postales estampadas.
Y ya está! A que era fácil? 🙂
Espero que os haya gustado! Como he dicho al principio, este es el último post de esta temporada de la serie Retrospective. Por ahora no voy a publicar nada más hasta dentro de dos semanas, cuando espero volver con mi primer post + vídeo paso a paso.
Sólo os avanzo que será una postal y que quien la recibió por su cumpleaños, se puso muy contento.
Hasta pronto y gracias por leer! 🙂

Que bonitas!!!! Me encantan. como todos los trabajos que nos estás enseñando.
LikeLike
No me canso de mirar y admirar todos tus trabajos.
Además de creativa eres primorosa en la ejecución…pero algo que no sale en la lista de materiales y que se nota en todo lo que haces, es el cariño que pones en cada trabajo. Un ejemplo de cariño y generosidad.
LikeLike
Gracias!! 🙂
LikeLike